 Dana O
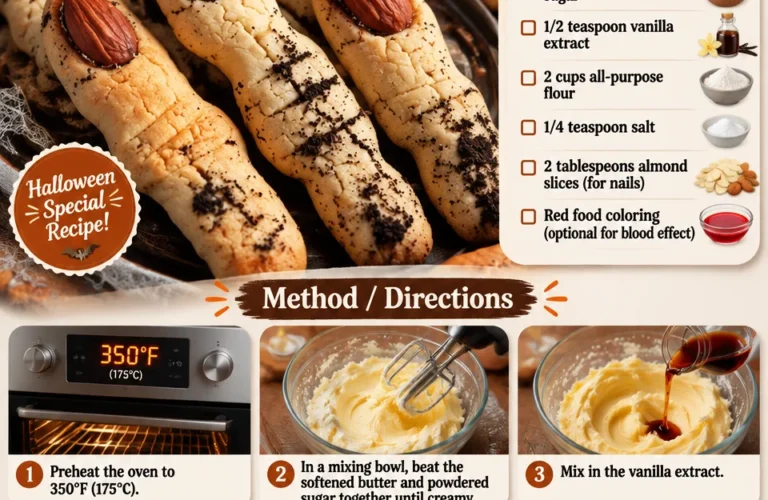
Witch Finger Cookies: A Spook-tacular Treat!
Are you looking for a fun and spooky addition to your Halloween celebrations? Look no further than Witch Finger Cookies! These eerie yet delightful Buranelli cookies are not only an impressive treat but also easy to make, which means more time enjoying the festivities! Let’s make this Halloween season unforgettable with cookies that are sure to be the talk of the party. You may also find 2 Ingredient Banana Peanut Butter Cookies No Eggs useful.
Why You’ll Love This Witch Finger Cookie Recipe
These cookies are the perfect blend of crunchy and chewy textures, making them irresistible. Plus, the simple ingredients mean you can whip them up in no time—even on those busy days when you’re juggling tasks as a super mom or a hardworking professional. Picture this: a tray of these spooky cookies at your Halloween gathering, and watch as guests excitedly reach for them! You may also find Chocolate Chip Cheesecake Stuffed Cookies useful.
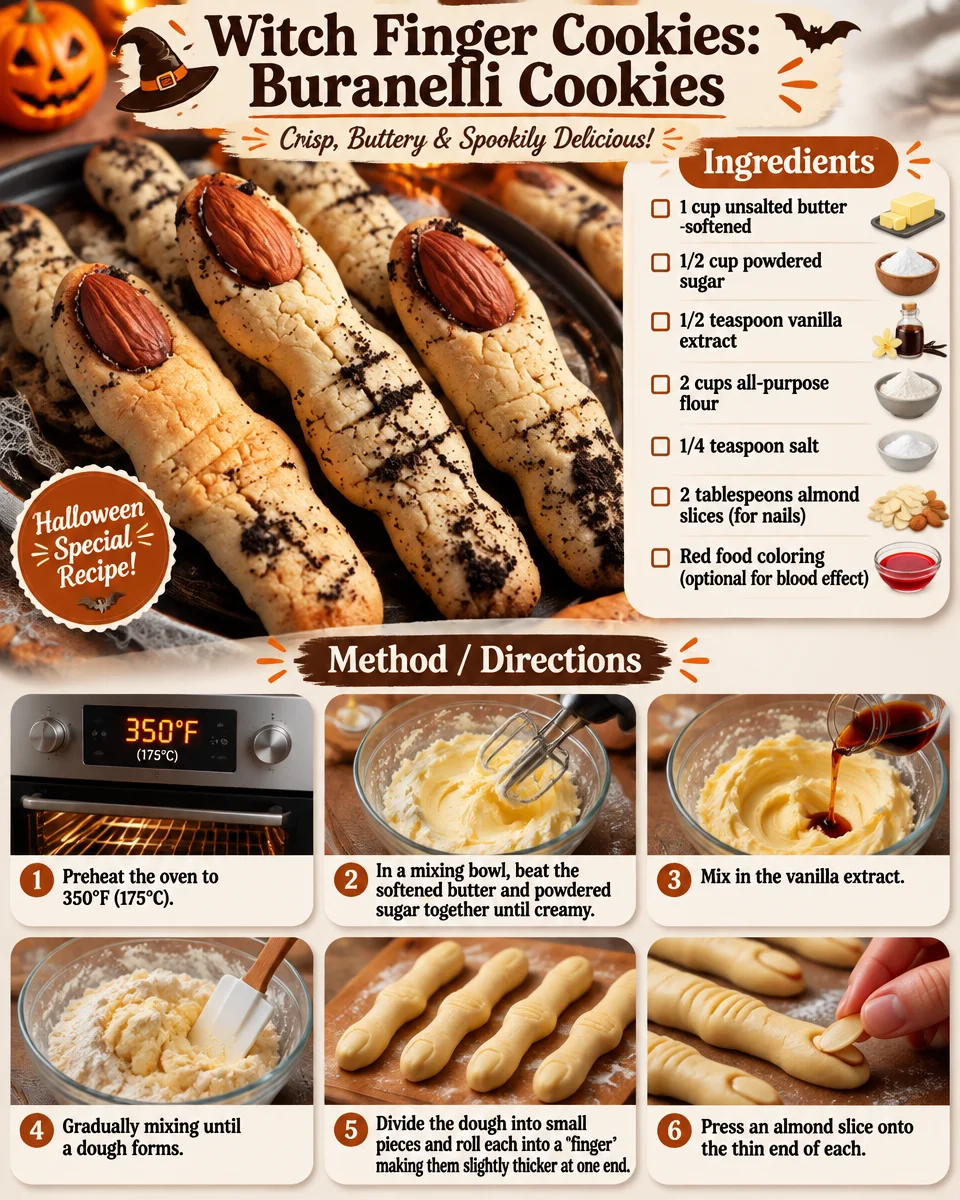
Ingredients
To make these witchy delights, you’ll need:
- 1 cup unsalted butter, softened
- 1 cup powdered sugar
- 1 large egg
- 2 teaspoons vanilla extract
- 2 ½ cups all-purpose flour
- 1 teaspoon almond extract
- ½ teaspoon baking powder
- Green food coloring (for effect)
- Whole almonds (for fingernails)
- Red gel icing (optional, for blood effect)
Steps to Bake Witch Finger Cookies
-
Preheat Your Oven: Start by preheating your oven to 350°F (175°C). This is key to achieving the perfect cookie texture.
-
Cream Butter and Sugar: In a large mixing bowl, cream together the softened butter and powdered sugar until light and fluffy. This step adds that melt-in-your-mouth quality to your cookies!
-
Mix it Up: Add in the egg, vanilla extract, and almond extract, blending until fully combined. If you’re feeling adventurous, add a splash of green food coloring to give your cookies that ghostly hue.
-
Incorporate Dry Ingredients: In a separate bowl, combine the flour and baking powder. Gradually mix this into your wet ingredients until a soft dough forms. It should be pliable and not too sticky.
-
Shape the Cookies: Roll the dough into finger-like shapes. Make sure to taper one end to form the “finger” and groove the top to mimic knuckles.
-
Add Almond Nails: Press a whole almond at the tapered end of each finger to represent the fingernail.
-
Bake: Place your witch fingers on a baking sheet lined with parchment paper and bake for 12-15 minutes, or until they are slightly golden.
-
Finishing Touches: Once cooled, you can use red gel icing to create a bloody effect around the nails for an extra spooky look!
Cooking Tips for the Perfect Witch Finger Cookies
- Chill the Dough: If the dough is too sticky to shape, pop it in the refrigerator for about 30 minutes. This makes it easier to manage.
- Customize Your Spook: Feeling creative? Switch out the almonds for chocolate-covered ones or even sprinkle some edible glitter for a magical touch!
Personal Anecdotes
I remember the first time I made these Witch Finger Cookies. My kids were so excited, they kept asking if they could help. It turned into a fun family bonding activity that brought us laughter and joy—definitely a memory I will cherish!
FAQs
Can I substitute butter with margarine?
Absolutely, but keep in mind that margarine might slightly alter the flavor and texture.
How can I store leftovers?
Place any leftover cookies in an airtight container. They should stay fresh for about a week—if they last that long!
Can I freeze these cookies?
Yes! You can freeze the shaped dough for up to three months. Just thaw and bake when you’re ready for a new batch!
Conclusion
With these Witch Finger Cookies in your repertoire, your Halloween celebrations are bound to be spook-tacular! And if you’re looking for more festive treats or ideas, check out these resources: Witch Finger Cookies: Buranelli Cookies – She Loves Biscotti and 20+ Easy Halloween Movie Night Snacks Anyone Can Make. Embrace the festive spirit and have a hauntingly good time baking!

Witch Finger Cookies
Ingredients
For the cookie dough
- 1 cup unsalted butter, softened
- 1 cup powdered sugar
- 1 large egg
- 2 teaspoons vanilla extract
- 2.5 cups all-purpose flour
- 1 teaspoon almond extract
- 0.5 teaspoon baking powder
- Green food coloring (for effect) For a ghostly hue
- Whole almonds (for fingernails) One per cookie
- Red gel icing (optional, for blood effect) For decoration
Instructions
Preparation
- Preheat your oven to 350°F (175°C).
- In a large mixing bowl, cream together the softened butter and powdered sugar until light and fluffy.
- Add in the egg, vanilla extract, and almond extract, blending until fully combined. If desired, add green food coloring.
- In a separate bowl, combine the flour and baking powder. Gradually mix into the wet ingredients until a soft dough forms.
- Roll the dough into finger-like shapes, tapering one end and creating grooves for knuckles.
- Press a whole almond at the tapered end of each finger to represent the fingernail.
- Place the shaped cookies on a baking sheet lined with parchment paper.
Baking
- Bake for 12-15 minutes, or until slightly golden.
- Once cooled, use red gel icing to create a bloody effect around the nails if desired.