
 Layla O
Spooky Witch Finger Cookies: A Halloween Treat That Bewitches!
Are you ready to impress your family and friends with a devilishly delightful treat this Halloween? Spooky Witch Finger Cookies are not only festive but also a fun way to get everyone involved in the baking process. These eerie-looking cookies will have everyone guessing what’s in them as they complement your Halloween parties or cozy celebrations at home. You may also find Oreo And Nutella Stuffed Cookies Are A Delicious Treat useful.
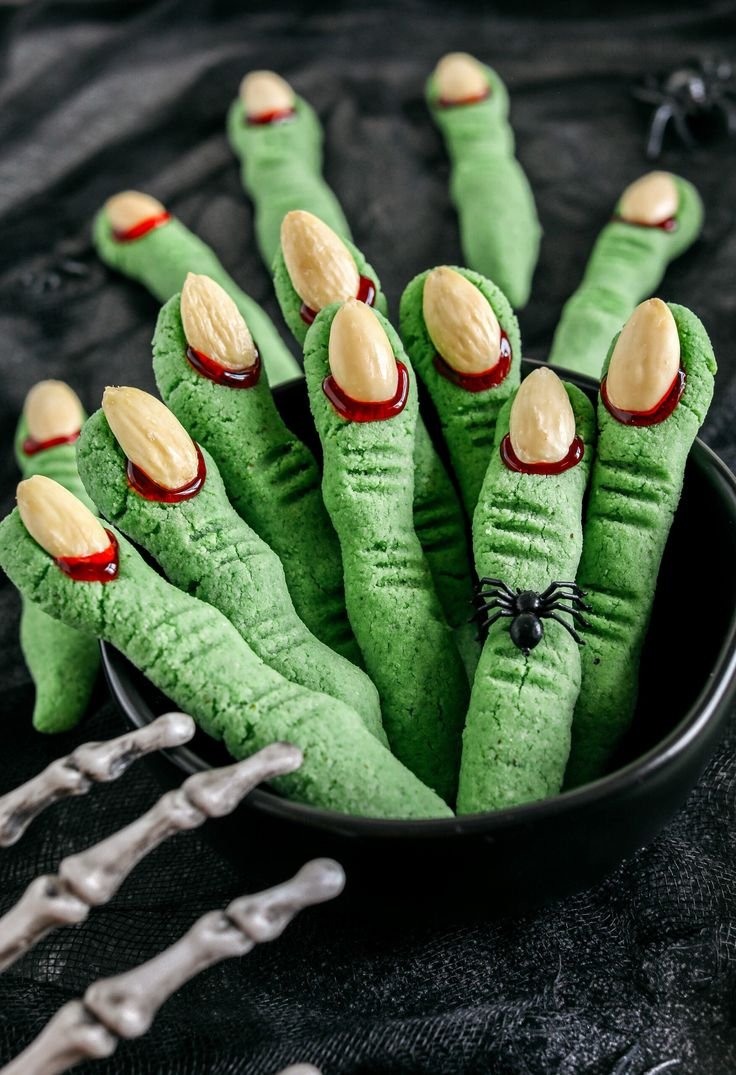
But don’t worry, making these spooky delights is simpler than you might think! Plus, they’ll be a fun hit with the kids — they might not even mind that they look a little creepy! You’ll find that these cookies can even be a perfect solution for busy days when you want to whip up something that’ll make you the star of the Halloween festivities. So, grab your apron because we’re about to dive into this delightful recipe!
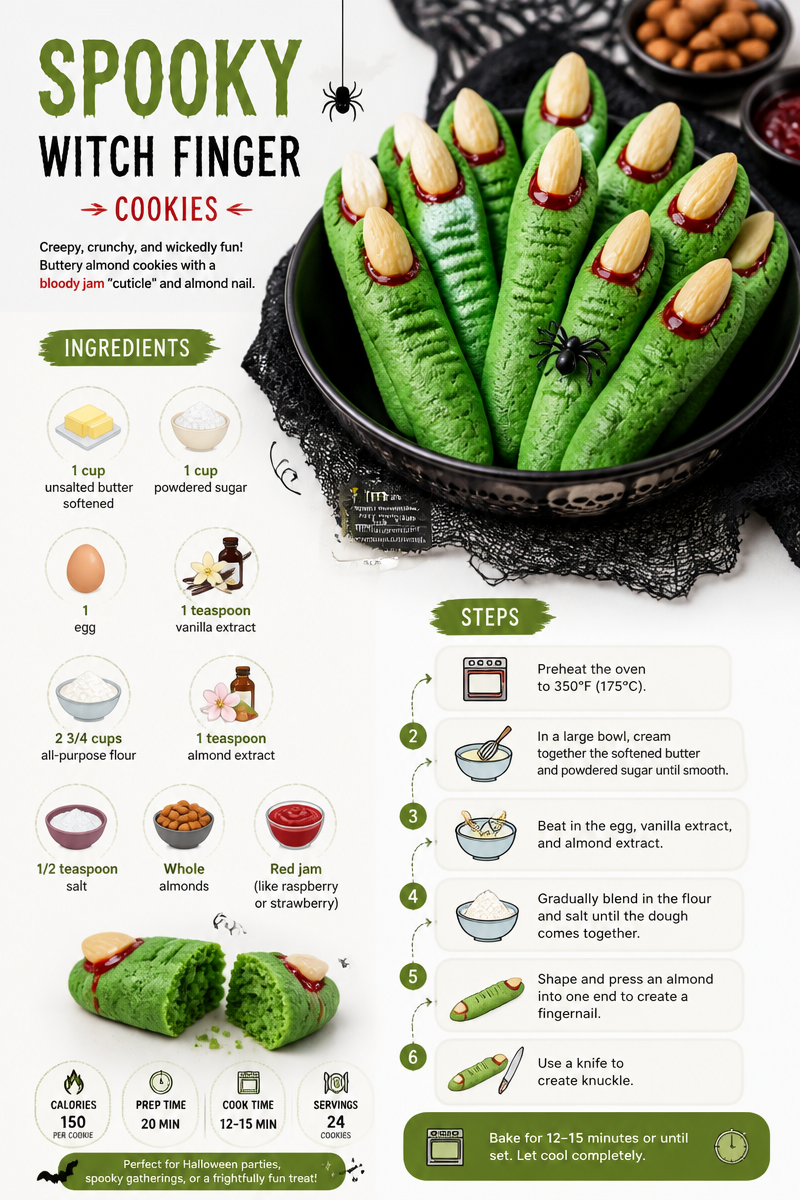
Why You’ll Love These Spooky Witch Finger Cookies
These cookies aren’t just about looking frightfully delicious; they taste amazing too! With a perfect mix of buttery tenderness and crunchy almonds for nails, this is one Halloween treat you won’t want to miss. They’re versatile, easy to share, and guaranteed to bring laughter and joy to any gathering. If you’re looking for some other spooky treats to pair with your cookies, consider checking out these Chocolate Chip Cheesecake Stuffed Cookies for an extra sweetness that balances the spooky theme perfectly.
Ingredients
Here’s what you need to conjure up these magical cookies:
- 2 cups of all-purpose flour
- 1 cup of butter, softened
- 2/3 cup of powdered sugar
- 1 tsp of vanilla extract
- 1/2 tsp of almond extract
- 1/2 tsp of salt
- 1 cup of whole almonds (for the fingernails)
- Green food coloring (optional, for extra spooky effect)
Steps to Make Spooky Witch Finger Cookies
-
Preheat your oven to 350°F (175°C) and line a baking sheet with parchment paper. Trust me, this step is vital — no one likes a stuck cookie!
-
In a large mixing bowl, cream together the softened butter and powdered sugar until light and fluffy. It should feel like a gentle hug, not too stiff.
-
Add in the vanilla extract, almond extract, and salt. Mix well. If you’re feeling adventurous, throw in a drop or two of green food coloring — let your creativity run wild!
-
Gradually add the flour to the mixture, stirring until fully combined. We’re creating cookie magic here!
-
Now for the really fun part! Divide the dough into small portions and roll them into finger-like shapes. Aim for about 4 inches long, making sure to make them as witchy as can be. Pinch the dough at one end to form a “knuckle” for that authentic finger effect.
-
Press a whole almond onto the end of each cookie to form the fingernail. Make sure it looks as scary as possible! If you want to make them even more sinister, you can gently press down to create some lines on the cookies to resemble knuckles.
-
Place your finished cookie fingers on the baking sheet and bake for 12-15 minutes or until they’re lightly golden. Just a heads-up: your kitchen will start to smell amazing!
-
Once baked, let them cool a bit. You can drizzle a little more food coloring for an added spooky effect, or leave them as is if you prefer the natural look.
Cooking Tips
Don’t worry if your cookies look a little rustic; that’s part of the charm! Each finger can have its own character, and those imperfections are what will make your cookies stand out. Remember, Halloween is all about fun and creativity!
I also find that chilling the dough for a bit before shaping helps it hold its form better. Just wrap it in some plastic wrap and pop it in the fridge for about 30 minutes if you have the time.
FAQs About Spooky Witch Finger Cookies
Can I substitute butter in this recipe?
Yes! You can use margarine or a vegan butter alternative for a dairy-free option.
What if I don’t have almonds?
If almonds aren’t your thing, no problem! You can use chocolate chips instead for that nail effect, just make sure to add them towards the end of baking for a melty touch.
How should I store leftovers?
These cookies can be stored in an airtight container at room temperature for up to a week, if they last that long!
Conclusion
These Spooky Witch Finger Cookies are the perfect blend of creepy and delicious, making them an ideal treat for your Halloween festivities. As you gather around the table and enjoy these with loved ones, you’ll find that the laughter and enjoyment far surpass their spooky looks. If you want to explore more eerie treats, don’t miss out on the Spooky Witches’ Fingers Recipe from Allrecipes or try making Witch Finger Cookies without food coloring for a different twist on this hauntingly good dessert!
So, get ready to bake up some fun and enjoy this Halloween season like no other!
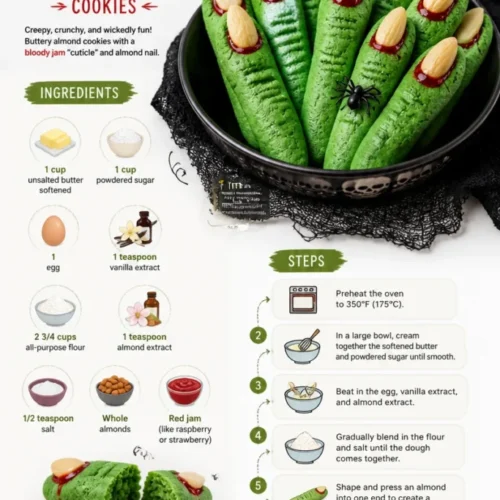
Spooky Witch Finger Cookies
Ingredients
Cookies Ingredients
- 2 cups all-purpose flour
- 1 cup butter, softened
- 2/3 cup powdered sugar
- 1 tsp vanilla extract
- 1/2 tsp almond extract
- 1/2 tsp salt
- 1 cup whole almonds (for the fingernails)
- green food coloring (optional) for extra spooky effect
Instructions
Preparation
- Preheat your oven to 350°F (175°C) and line a baking sheet with parchment paper.
- In a large mixing bowl, cream together the softened butter and powdered sugar until light and fluffy.
- Add in the vanilla extract, almond extract, and salt. Mix well. If you're feeling adventurous, add a drop or two of green food coloring.
- Gradually add the flour to the mixture, stirring until fully combined.
Shaping Cookies
- Divide the dough into small portions and roll them into finger-like shapes, about 4 inches long.
- Pinch the dough at one end to form a 'knuckle'.
- Press a whole almond onto the end of each cookie to form the fingernail.
- Create lines on the cookies to resemble knuckles for added effect.
Baking
- Place finished cookie fingers on the baking sheet and bake for 12-15 minutes until lightly golden.
- Let them cool a bit and optional drizzle with food coloring for an added spooky effect.