 Meriam O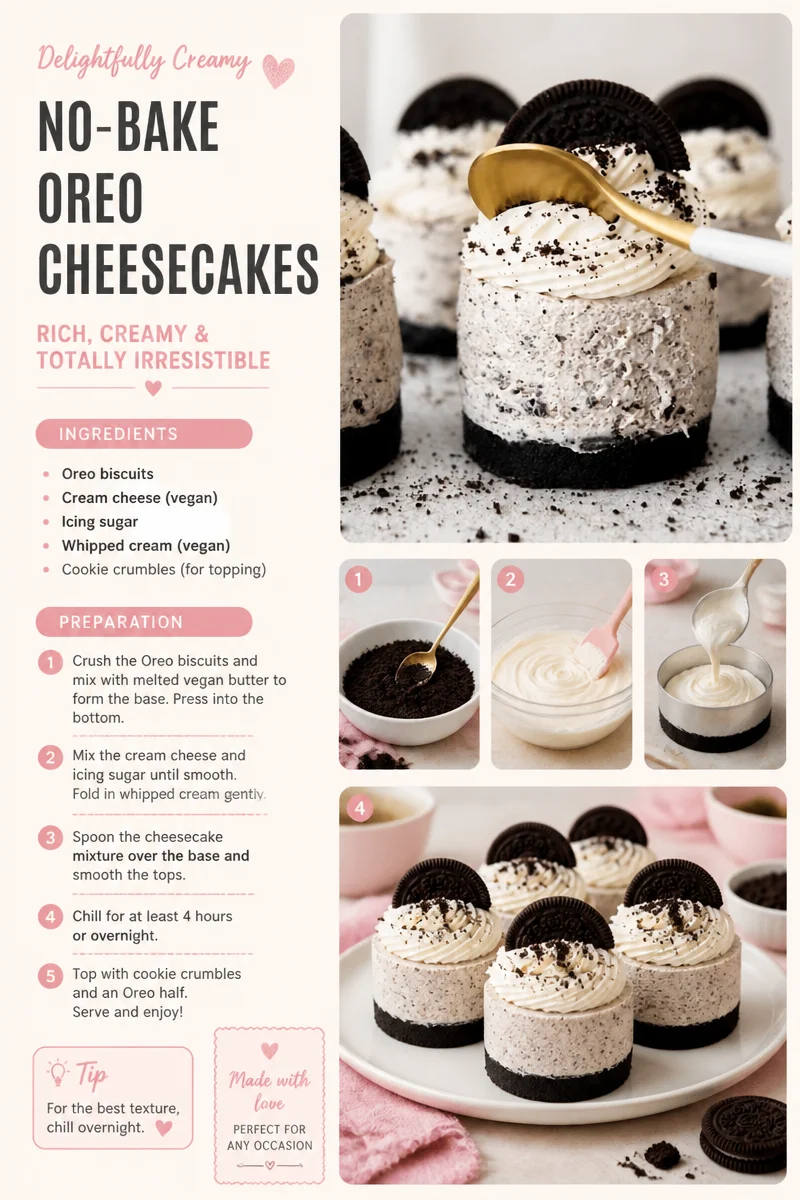
No-Bake Oreo Cheesecakes: An Irresistibly Easy Delight
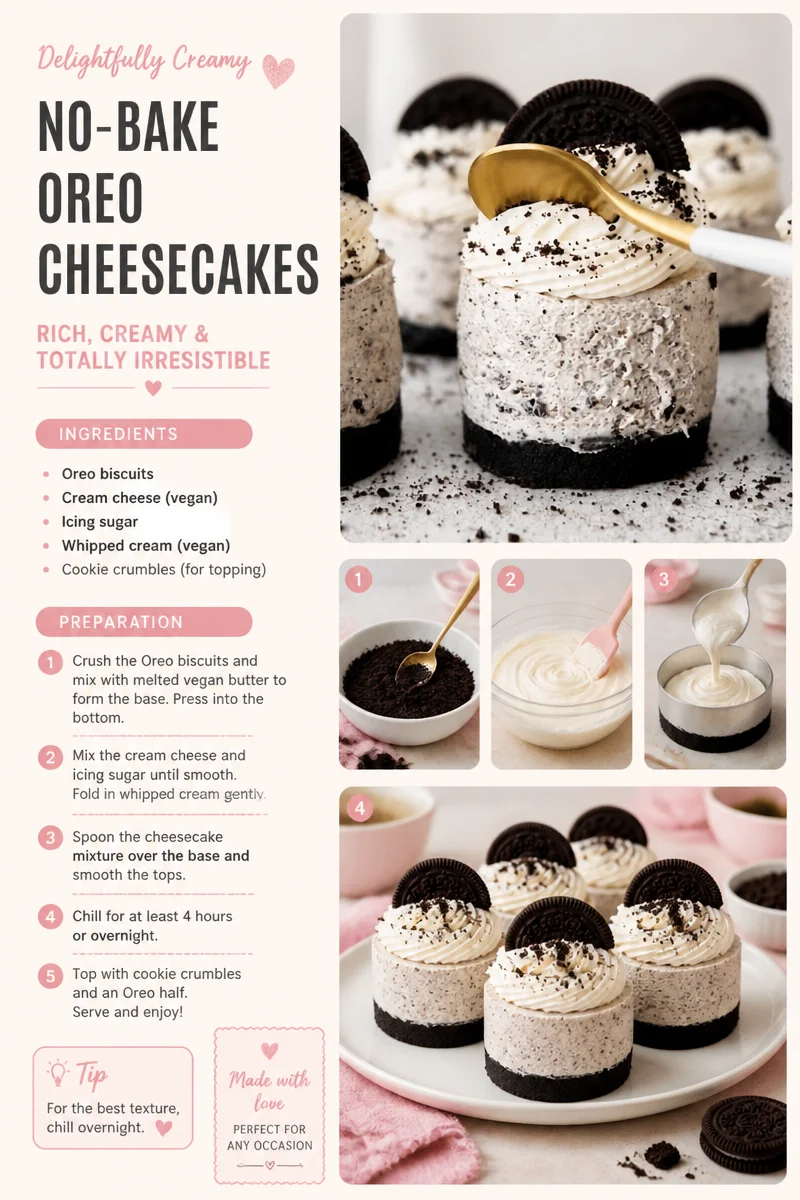
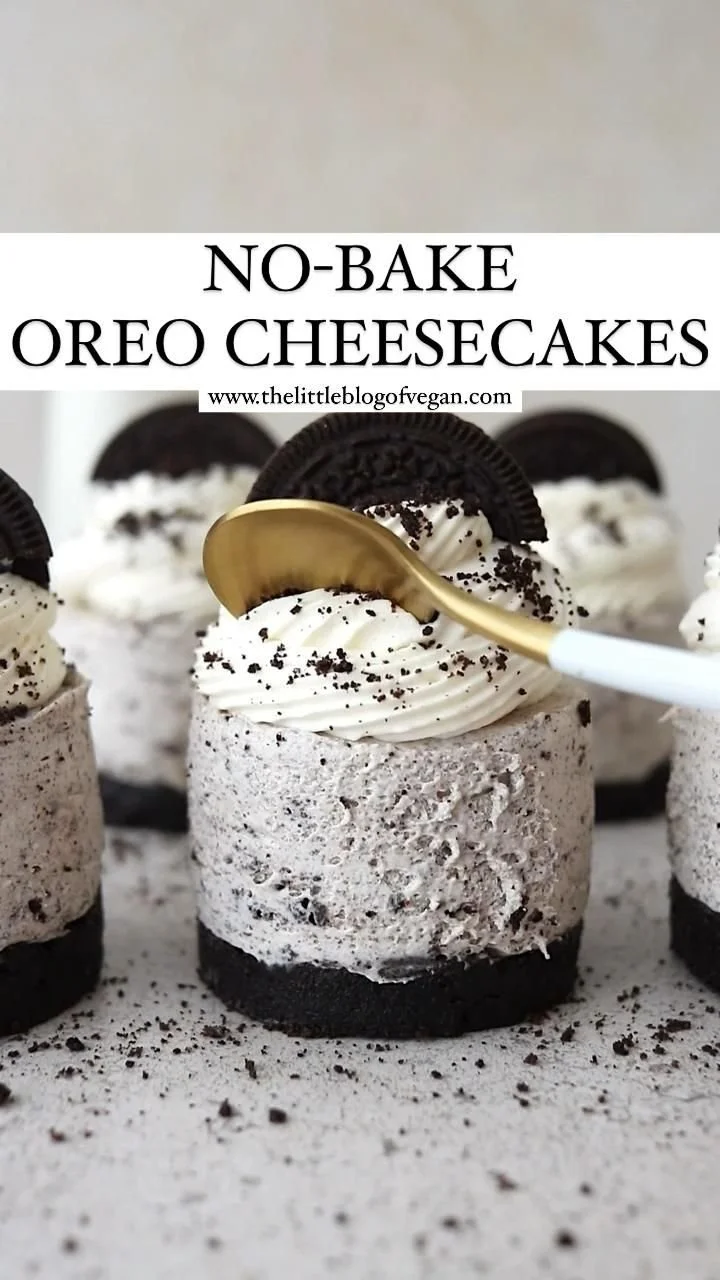
Life can get busy, and sometimes you need a quick way to satisfy that sweet tooth without spending hours in the kitchen. That’s where this No-Bake Oreo Cheesecakes recipe comes in, blending creamy goodness with delightful Oreo crunch in a way that’s oh-so-simple! Whether you’re an experienced baker or someone who just wants to impress family and friends without the fuss, this treat is perfectly delicious and, dare I say, a game changer for your dessert table. You may also find No Bake Oreo Peanut Butter Cheesecake useful.
Why You’ll Love These No-Bake Oreo Cheesecakes
This recipe is not just about being easy—it’s about delivering flavor that brings smiles. The combination of cream cheese, whipped topping, and, of course, everyone’s favorite cookie (the Oreo) makes this dessert utterly irresistible. It’s perfect for parties, gatherings, or even an after-dinner treat when you want to indulge a little without the guilt of baking from scratch. Plus, if you love Oreo desserts, you might also enjoy making some peanut butter cheesecake as a fun variation!
Ingredients
Before we dive into the steps, let’s gather our ingredients. You’ll need: You may also find No Bake Peppermint Oreo Truffles useful.
- 1 ½ cups Oreo cookie crumbs (plus some for decoration)
- ½ cup unsalted butter, melted
- 16 oz cream cheese, softened
- ½ cup powdered sugar
- 1 tsp vanilla extract
- 2 cups whipped topping
- 10-12 Oreo cookies, crushed for filling
Steps to Make No-Bake Oreo Cheesecakes
1. Prepare the Crust
Start by mixing the Oreo cookie crumbs with the melted butter in a bowl. The mixture should be moist but crumbly. Press it firmly into the bottom of a 9-inch springform pan or individual serving cups, creating a solid crust. Pop it into the fridge while you prepare the cheesecake filling.
2. Make the Creamy Filling
In a large mixing bowl, combine the softened cream cheese, powdered sugar, and vanilla extract. Use a mixer on medium speed until the mixture is smooth and creamy—this shouldn’t take long! Gently fold in the whipped topping until everything is well blended. Here’s a tip: don’t overmix; you want that fluffy texture to shine through.
3. Add the Oreos
Fold the crushed Oreos into your creamy filling mixture, ensuring they’re evenly distributed. This is where the magic happens—each bite will be filled with delicious chocolatey goodness!
4. Assemble the Cheesecakes
Spread the cheesecake mixture evenly over the Oreo crust you made earlier. For added flair, you can sprinkle some additional Oreo crumbs on top. Cover and let them chill in the fridge for at least 4 hours or, better yet, overnight.
5. Serve and Enjoy!
Once set, you can slice the cheesecake (or serve from the individual cups) and watch everyone light up with joy as they take their first bite. It’s that simple!
Cooking Tips
- Chill Time is Key: Be patient! Giving your Oreos cheesecake enough time to chill is essential for the best texture. Skipping this step might leave you with a softer filling than you want.
- Garnish for Glamour: A little extra whipped topping and whole Oreos on each slice adds a touch of elegance and fun!
Personal Anecdotes
Every time I make these No-Bake Oreo Cheesecakes, I think back to my childhood when my sister Patricia and I would sneak Oreos from the pantry. We’d pile them high and invent recipes using whatever we could find in the kitchen. Fast forward to today, and I cherish those sweet memories every time I whip up this easy dessert. It’s all about blending nostalgia with deliciousness in a way that brings joy to those we love!
FAQs
Can I substitute the cream cheese in this recipe?
Yes, you can use mascarpone cheese for a slightly different flavor and texture. Just make sure it’s at room temperature for easy mixing!
How do I store leftovers?
Keep them covered in the fridge for up to five days. If they last that long, that is!
Conclusion
If you’re looking for the perfect indulgent dessert that combines simplicity and flavor, this No-Bake Oreo Cheesecake is it! It’s easy enough to whip up on a busy day or fancy enough to impress your guests. The best part? There are endless variations to try. For more dessert inspiration, check out this delightful No-Bake Oreo Cheesecake recipe or explore the No-Bake Oreo Cheesecake Recipe | Life, Love and Sugar for some fantastic tips. Get ready to enjoy a slice of happiness!
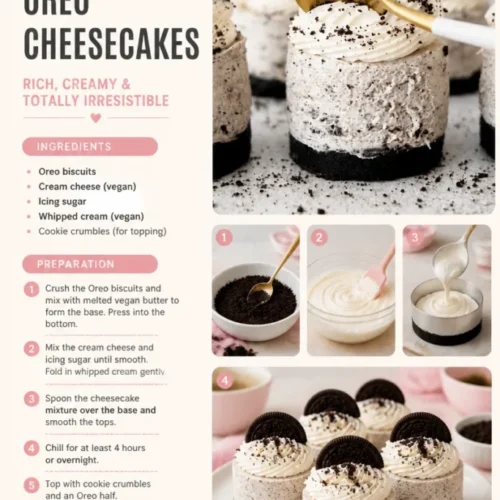
No-Bake Oreo Cheesecakes
Ingredients
For the crust
- 1.5 cups 1 ½ cups Oreo cookie crumbs Plus some for decoration
- 0.5 cups ½ cup unsalted butter, melted
For the filling
- 16 oz 16 oz cream cheese, softened
- 0.5 cups ½ cup powdered sugar
- 1 tsp 1 tsp vanilla extract
- 2 cups 2 cups whipped topping
- 10-12 pcs 10-12 Oreo cookies, crushed for filling
Instructions
Preparation
- Mix the Oreo cookie crumbs with the melted butter in a bowl until the mixture is moist but crumbly.
- Press the mixture firmly into the bottom of a 9-inch springform pan or individual serving cups to create a solid crust.
- Pop it into the fridge while you prepare the cheesecake filling.
Make the Filling
- In a large mixing bowl, combine the softened cream cheese, powdered sugar, and vanilla extract. Mix until smooth and creamy.
- Gently fold in the whipped topping until well blended.
- Tip: Don’t overmix to maintain a fluffy texture.
Add the Oreos
- Fold the crushed Oreos into the creamy filling mixture, ensuring they are evenly distributed.
Assemble the Cheesecakes
- Spread the cheesecake mixture evenly over the Oreo crust.
- Sprinkle additional Oreo crumbs on top for flair.
- Cover and chill in the fridge for at least 4 hours or overnight.
Serve and Enjoy
- Slice the cheesecake or serve from individual cups and enjoy!