 Layla O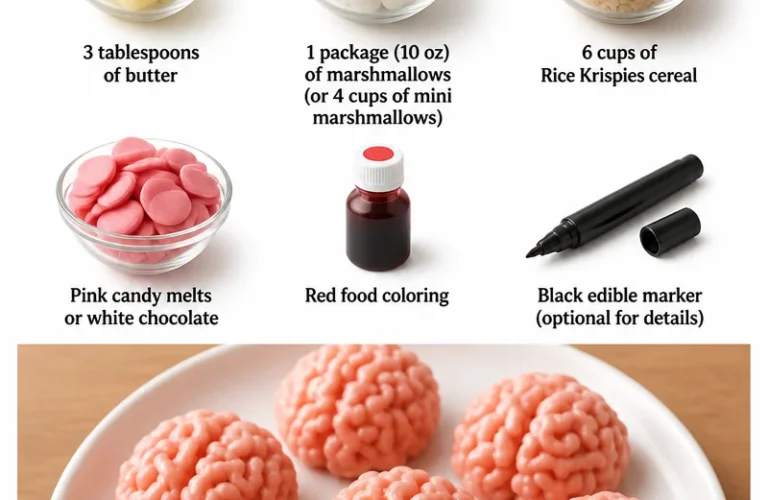
Marshmallow Rice Krispies Halloween Brains: A Ghoulishly Fun Treat for the Season!
Halloween is just around the corner, and if you’re anything like me, you’re probably already knee-deep in planning the perfect spooky soirée or simply looking for a fun activity to enjoy with your kids. Or maybe you just want to bring a little festive flair to your weekday snack routine! If that sounds like you, then I’m thrilled to share this delightful recipe for Marshmallow Rice Krispies Halloween Brains. Not only are they a visual treat, but they’re also quick, easy, and irresistibly gooey – perfect for busy moms and professionals alike!
Why You’ll Love These Marshmallow Rice Krispies Halloween Brains
The beauty of this recipe lies in its simplicity and versatility. Do you have just 30 minutes? Great! Do you have picky eaters to please? Perfect! This recipe is a fantastic way to get everyone in the Halloween spirit without breaking a sweat. Plus, who can resist that quintessential combination of marshmallows and crunchy Rice Krispies, especially when it’s shaped like brains? These treats are not only a great addition to any Halloween party but also a hit for lunchbox surprises or after-school snacks.
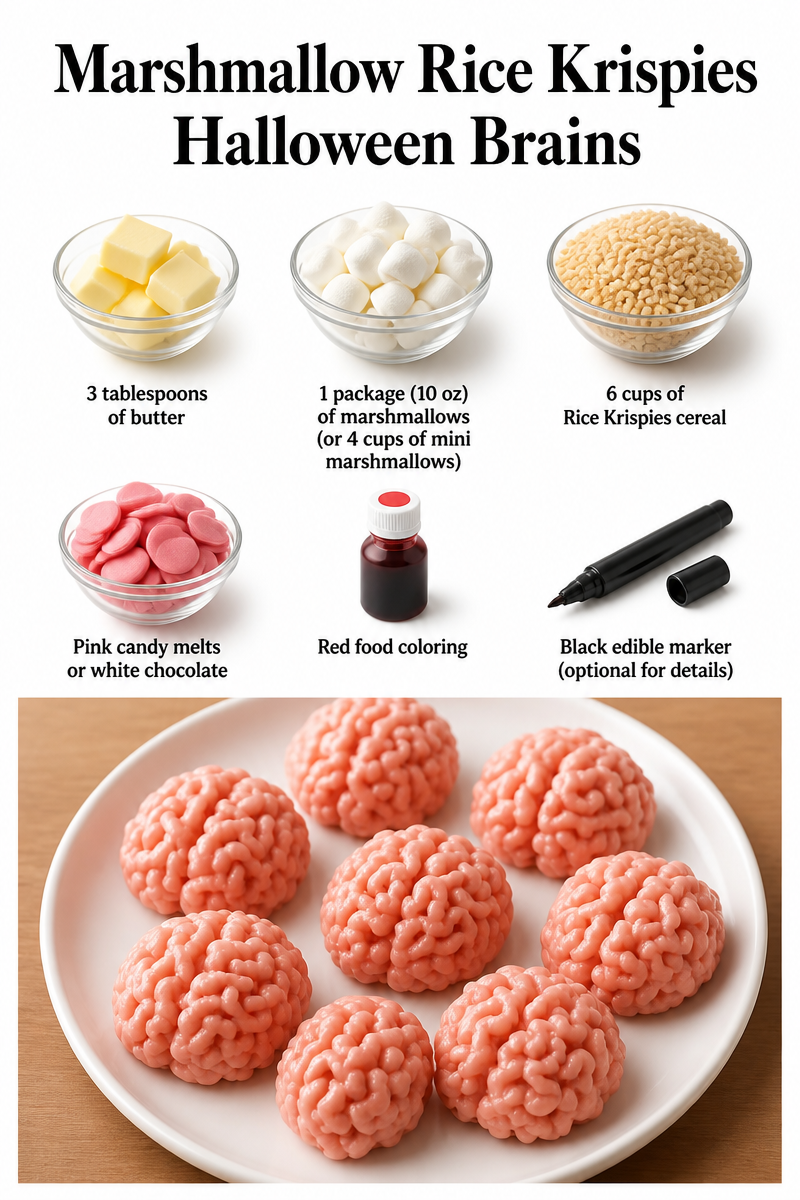

Let’s dive right into the spookiness of this brainy concoction—no PhD in culinary arts required!
Ingredients
To whip up these ghoulish delights, you’ll need the following ingredients:
- 4 cups Rice Krispies cereal
- 10 ounces marshmallows (you can use mini or regular, but let’s be real—everything’s better with the big ones)
- 1 tablespoon butter or margarine
- Red food coloring (to give them that authentic, brainy look)
- Optional: Candy eyes for a creepy finishing touch
Steps to Create Your Halloween Brains
-
Melt the Butter and Marshmallows: In a large pot, melt the butter (yes, butter makes everything better!) over low heat. Once it’s melted, add the marshmallows and stir continuously until they are completely melted and smooth. This is the part where you’ll feel like a kid again—nothing quite beats the smell of melted marshmallow!
-
Add the Food Coloring: Take a deep breath; it’s time to turn this gooey goodness into something spooky! Add the red food coloring to the melted mixture. The exact amount will depend on how “brainy” you want your treats to look – a few drops will do for a subtle effect, while a generous squirt will ramp up the Halloween vibes.
-
Mix in the Rice Krispies: Once your marshmallow mixture is a perfect shade of red, remove it from the heat and quickly stir in the Rice Krispies. Make sure every single piece is coated with that deliciously sticky marshmallow mixture. Just don’t get too sticky yourself!
-
Shape the Brains: Now comes the fun part! Using a greased spatula or your hands (lightly buttered, of course) grab small handfuls of the mixture and mold them into brain shapes. Don’t worry about perfection; a little asymmetry adds to the authenticity!
-
Cool and Decorate: Place your formed brains on a baking sheet lined with parchment paper and allow them to cool. If you’re feeling a bit extra, pop some candy eyes on top for that horrifyingly cute touch.
Cooking Tips
- If you find the mixture too sticky to shape, lightly coat your hands with butter or oil to avoid the marshmallow madness (I promise, it’s a game-changer!).
- If you want to switch it up, consider adding in some goodies like M&Ms or chocolate chips for added texture and flavor.
- Don’t be shy! Feel free to use other colors of food dye for a variety of spooky treats.
A Little About My Kitchen Magic
I remember the first time I made these Marshmallow Rice Krispies Halloween Brains with my sister, Patricia. We donned our aprons, a splash of red dye went everywhere, and I’m pretty sure we ended up with more marshmallow on our hands than in the pot. But the laughter and joy that filled our kitchen made the mess completely worth it. It’s these moments that turn ordinary recipes into cherished memories.
FAQs About Marshmallow Rice Krispies Halloween Brains
Can I make these ahead of time?
Absolutely! These treats store well. Just keep them in an airtight container at room temperature for up to a week (if they last that long!).
Can I substitute the Rice Krispies?
Yes! You can use any puffed cereal you have on hand—think Fruity Pebbles or even gluten-free options. It’ll just change the flavor and color a bit!
What if I can’t find red food coloring?
No problem! You can use a mix of other colors—pink and purple could make fun creepy brains too!
Remember, the goal here is to have fun while creating something delicious and festive. So, gather your family, channel your inner creative spirit, and dive into this tasty adventure!
Creating these Marshmallow Rice Krispies Halloween Brains is a quick and easy solution that brings laughter and joy to your kitchen. Your family and friends will love the treat, and who knows, it might even become a yearly tradition! So grab your ingredients, get messy, and make this Halloween one to remember!
For more festive treats, check out my chocolate-covered pretzels or explore these pumpkin spice cupcakes to keep the season full of flavor!
Meta Description: Marshmallow Rice Krispies Halloween Brains is the perfect recipe for festive fun! Quick, easy, and delicious, this treat will delight your family. Try it today!
Marshmallow Rice Krispies Halloween Brains
Ingredients
Main ingredients
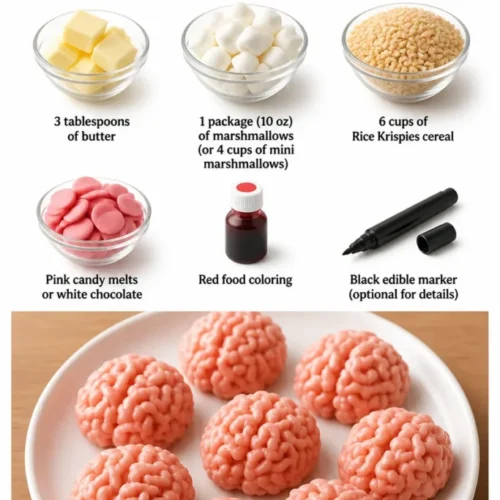
- 4 cups Rice Krispies cereal
- 10 ounces marshmallows Use mini or regular marshmallows.
- 1 tablespoon butter or margarine
- to taste Red food coloring Adjust based on desired color intensity.
- optional Candy eyes For decoration.
Instructions
Preparation
- Melt the butter over low heat in a large pot. Once melted, add the marshmallows and stir until completely melted and smooth.
- Add the red food coloring to the melted mixture based on how 'brainy' you want them to look.
- Remove the pot from heat and quickly stir in the Rice Krispies until they are well-coated with the marshmallow mixture.
- Using a greased spatula or buttered hands, mold small handfuls of the mixture into brain shapes.
- Place the formed brains on a lined baking sheet and allow them to cool. Optionally, add candy eyes on top before they set.