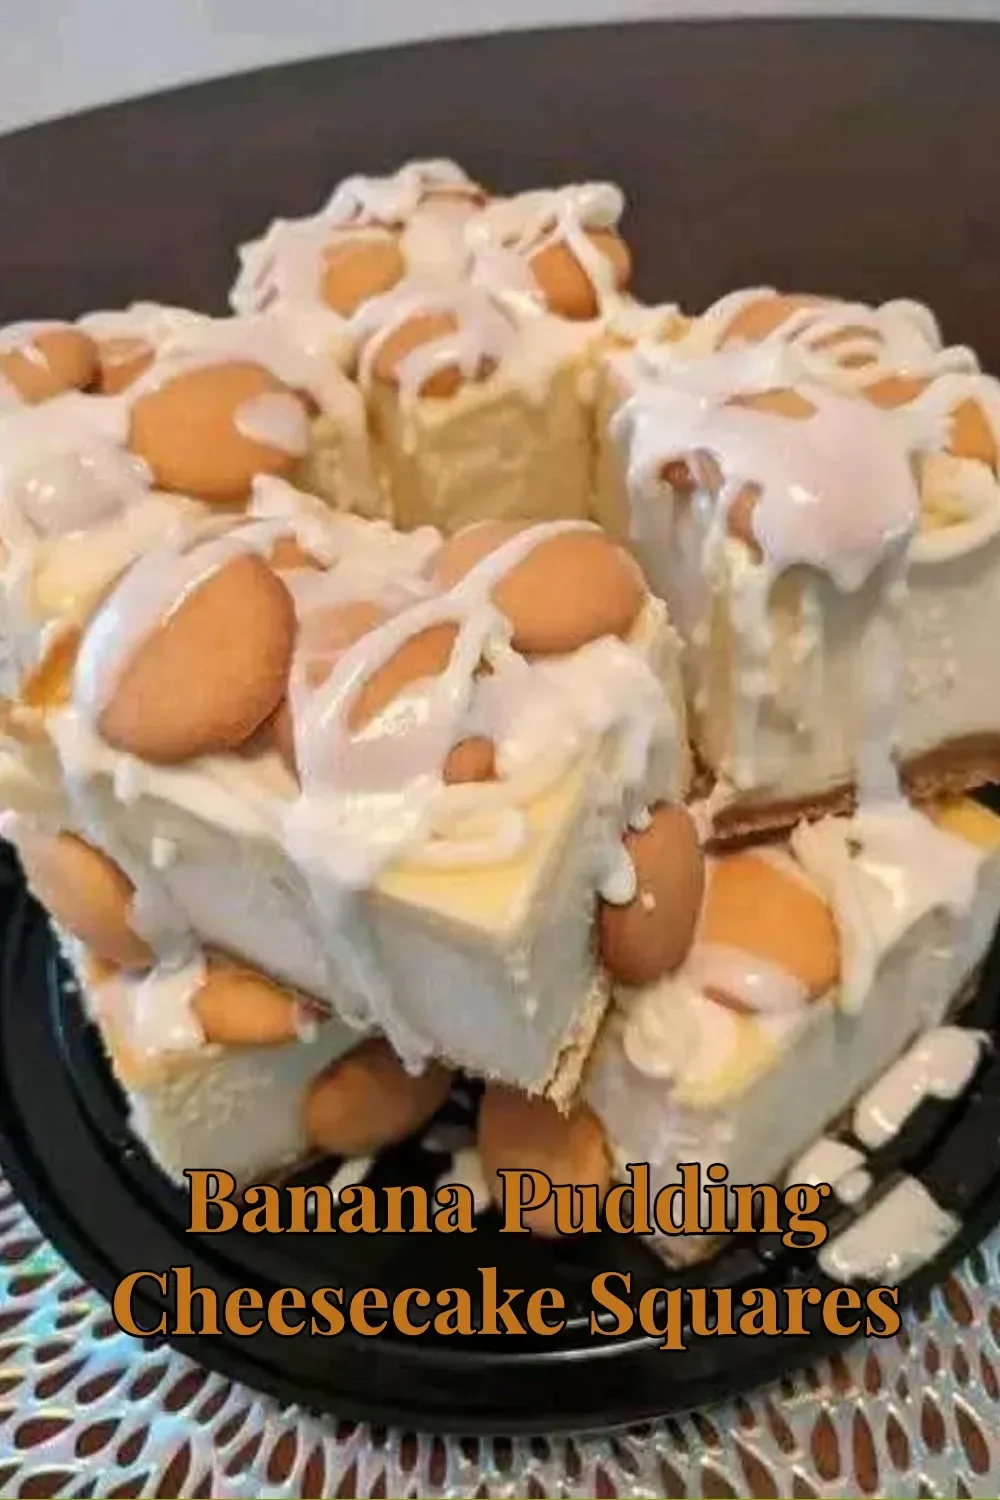
Banana Pudding Cheesecake Squares — a creamy, crowd-pleasing twist
If you love classic banana pudding but wish it had a grown-up, slightly fancier vibe for potlucks or weeknight dessert rescue missions, these Banana Pudding Cheesecake Squares are your new best friend. Light, creamy cheesecake filling meets slices of fresh banana and a buttery vanilla-wafter crust — all in fridge-friendly bars that are as easy to share as they are to eat. Whether you’re juggling kids’ schedules, a full inbox, or planning dessert for a last-minute get-together, this Banana Pudding Cheesecake Squares recipe delivers comfort with minimal fuss.
Why you’ll love these Banana Pudding Cheesecake Squares
- They feel indulgent without being complicated.
- No oven drama — mostly chill-time. Perfect for busy moms, working professionals, or anyone who appreciates a simple, delicious win.
- They travel well for potlucks and can be prepped ahead (read: sanity saved).
A little about me: I’m Anna, and my sister Patricia and I love turning simple ingredients into dishes that make people smile. These squares are the kind of dessert that became my go-to at family gatherings — big applause, zero stress. Now let’s make some dessert magic.
Ingredients
Makes a 9×13-inch pan (about 12–16 squares)
For the crust
- 3 1/2 cups crushed vanilla wafers (about 2 standard sleeves)
- 6 tablespoons unsalted butter, melted
- 2 tablespoons granulated sugar (optional — if your wafers are super sweet, you can skip)
For the cheesecake layer
- 16 oz (2 packages) cream cheese, softened to room temperature
- 1 cup powdered sugar, sifted
- 1 teaspoon vanilla extract
- 1 (14 oz) can sweetened condensed milk
For the banana pudding swirl
- 1 (3.4 oz) instant vanilla pudding mix
- 1 1/2 cups cold milk (for the pudding mix)
- 2 ripe bananas, thinly sliced (plus 1 banana for garnish, optional)
For the topping
- 8 oz container whipped topping (Cool Whip), thawed — or 1 1/2 cups homemade whipped cream
- A handful of extra crushed vanilla wafers or chopped vanilla wafers for garnish
- Banana slices just before serving (to keep them from browning)
Optional: 1 teaspoon banana extract in the cheesecake layer for extra banana punch.
Kitchen tools you’ll need
- 9×13-inch baking pan, parchment or foil for easy removal
- Mixing bowls, electric mixer or stand mixer
- Spatula and measuring cups/spoons
Step-by-step: how to make Banana Pudding Cheesecake Squares
- Prep the pan and crust
Line a 9×13-inch pan with parchment paper or foil, leaving a little overhang on two sides to lift the bars out later. In a medium bowl, combine crushed vanilla wafers, melted butter, and sugar (if using). Press the mixture evenly into the bottom of the prepared pan. Use the bottom of a measuring cup to compact it — you want a firm, even base. Chill in the fridge while you make the filling. - Make the cheesecake layer
In a large bowl, beat the softened cream cheese until smooth and fluffy (about 2 minutes). Add powdered sugar and vanilla extract; mix until combined. Slowly pour in the sweetened condensed milk and keep mixing on low speed until silky. If you’d like a stronger banana note, add 1 tsp banana extract here. - Prepare the pudding swirl
In a separate bowl, whisk the instant vanilla pudding mix with 1 1/2 cups cold milk until it thickens (about 2 minutes). The mixture will be slightly firmer than the cheesecake batter — that’s okay. Gently fold half of the whipped topping into the pudding to loosen it a bit and make it more spreadable. - Layer time: assemble the bars
Remove the pan with the chilled crust. Spread half the cheesecake mixture evenly over the crust. Arrange a layer of banana slices over the cheesecake (use ripe but firm bananas — not overly mushy). Spoon dollops of the pudding mixture across the banana layer, then gently swirl lightly with a knife so the pudding creates pretty ribbons in the cheesecake (resist the urge to overmix). Top with the remaining cheesecake mixture and smooth the top. - Finish with whipped topping
Spread the remaining whipped topping evenly over the top. Press a few crushed vanilla wafers on top for texture. If you plan to serve immediately, add fresh banana slices just before cutting to avoid browning. - Chill and set
Cover and refrigerate for at least 4 hours — overnight is best. This chilling time lets the layers set and flavors meld. - Serve
Use the parchment overhang to lift the bars from the pan. Slice into squares and garnish with a banana slice and a sprinkle of crushed wafers. Keep bars refrigerated and bring to the table chilled.
Quick alternative: a baked version
If you prefer a denser cheesecake, you can bake the cheesecake layer (reduce sweetened condensed milk to 1 can, add 2 eggs, and bake at 325°F for 25–30 minutes). Let cool and then layer pudding and bananas on top. But honestly, the no-bake approach saves time and keeps the texture light and dreamy.
Tips and tricks for perfect banana pudding cheesecake bars
- Use slightly underripe bananas: They hold their shape better and brown less quickly. Slice them shortly before assembling if you can.
- Soften cream cheese naturally: Pull it out of the fridge about 30–60 minutes before starting, or warm in 10-second microwave bursts if you forgot. Cold cream cheese will make lumps.
- Don’t skip the parchment: It makes removing and cutting the bars so much easier.
- Make ahead: These are excellent when made a day ahead, which makes them perfect for busy hosts.
- For a gluten-free option: Swap the wafers for gluten-free vanilla cookies or make a nut-based crust (crushed almonds + butter).
- Keep the topping fresh: If you want to prep everything ahead, add fresh banana slices only when serving to avoid browning. Or toss slices in a splash of lemon juice to slow oxidation.
A note on ingredients
Instant vanilla pudding and whipped topping (like Cool Whip) are pantry heroes here — they give creaminess and stability without long whipping times. If you prefer homemade, swap the instant pudding for a thickened stovetop custard and use freshly whipped cream; expect a slightly softer texture and shorter fridge life.
Personal anecdote (because we’re friends now)
The first time I made these, Patricia and I were testing desserts for our family reunion. I’d already made three other things — classic banana pudding, lemon bars, and brownies — and thought, “What if they all had a baby?” These squares were the happy result. My nephew declared them the official dessert of summer, and I’ll never forget the way my sister leaned over and whispered, “Winner.” That’s the kind of kitchen victory I love sharing with you.
FAQs
Q: Can I use fresh banana pudding instead of instant?
A: Yes. Use a thick stovetop vanilla custard and cool it before swirling. The texture will be slightly different — more custardy and delicate — but delicious.
Q: How long do these keep in the fridge?
A: Stored in an airtight container, they’ll keep well for up to 4 days. After that, banana slices may darken and the crust can soften. For longer storage, freeze individual squares (wrap well) for up to 1 month.
Q: Can I make them nut-free?
A: Absolutely. The standard recipe is nut-free; just make sure the vanilla wafers you use are processed in a nut-free facility if needed.
Q: Can I make mini versions in a muffin tin?
A: Yes — press crust into lined muffin cups, then fill. Chill until set. Mini desserts are great for parties or when you want smaller portions.
Q: What’s the best way to slice clean bars?
A: Use a sharp knife warmed under hot water, wiped dry between cuts. The heat helps cleanly slice through the layers.
Pairings and serving ideas
These bars shine with a simple side: a cup of strong coffee, a lightly sweet wine like Moscato, or a scoop of vanilla ice cream for extra indulgence. They’re also a hit next to a bowl of fresh berries to balance the sweetness.
Want more dessert ideas?
If you love easy, make-ahead sweets, check out our simple cheesecake bar recipes or classic banana pudding variations for inspiration. You might also enjoy tips on getting perfect whipped cream every time.
Conclusion
When you need a dessert that feels special but won’t steal your whole afternoon, Banana Pudding Cheesecake Squares are the answer. They strike that rare balance of retro comfort and modern ease — ideal for busy weeknights, potlucks, or when a little celebration is needed. For a fun twist, try the baked version or swap in a gluten-free crust to suit dietary needs.
For more inspiration and similar twists on beloved classics, see this Banana Pudding Cheesecake Bars recipe from Grandbaby Cakes and this Banana Pudding Cheesecake Bars version from Butter Be Ready.
Meta description (150 characters)
Banana Pudding Cheesecake Squares: a quick, creamy, no-bake dessert for busy home cooks. Easy to make, perfect for potlucks and family nights.
Internal links you might like
- Try another easy make-ahead dessert: Easy Cheesecake Bars
- Learn pantry-friendly pudding tips: Quick Vanilla Pudding Tips
Enjoy making these — and if you try them, tell me how they went. I love hearing which tweaks make them your family’s favorites.