(Primary Keyword): Decadent Chocolate Raspberry Cake for Busy Bakers
Welcome — I’m Anna, and if you’re craving a dessert that tastes like a celebration but doesn’t demand a culinary degree, you’re in the right place. This (Primary Keyword) brings together deep chocolate layers and bright raspberry filling in a way that’s both impressive and forgiving. It’s perfect for busy weeknights when you want to wow friends, or for sneakily treating yourself after a long day. If you love easy, crowd-pleasing desserts, you might also enjoy our take on the No-Bake German Chocolate Cheesecake, which shares that same family-friendly, fuss-free vibe.
Why you’ll love this Chocolate Raspberry Cake
- It looks special, but is truly manageable.
- The tart raspberry cuts through rich chocolate so each bite feels balanced.
- You can make parts ahead (cake layers or raspberry filling), which is a lifesaver on busy days.
Why You’ll Love This (Primary Keyword)
Let’s be honest: busy lives call for desserts that do the heavy lifting. This (Primary Keyword) does all the flavor drama without drama in the kitchen. Between work deadlines, carpools, and trying to remember where you put your phone, you deserve a dessert that feels luxurious and is actually doable.
Recipe snapshot
Recipe name: (Recipe Name)
Recipe contents:
(Recipe Ingredients and Instructions)
Ingredients (read through once before starting)
- See the full list under Recipe contents above: (Recipe Ingredients and Instructions)
- Note: If you want a shopping checklist, jot down the staples first — flour, cocoa, sugar, eggs, butter — then the fun extras like fresh raspberries or jam.
What you’ll need (equipment)
- Two 8- or 9-inch round cake pans
- Mixing bowls
- Electric mixer (or a sturdy whisk and patience)
- Spatula
- Cooling rack
- Serrated knife for leveling (optional)
Step-by-step: How to make this Chocolate Raspberry Cake
I’ll walk you through clear, practical steps so you can set a relaxed pace. Each step builds on the last — no guesswork, just tasty results.
-
Prep and preheat
- Preheat the oven to 350°F (175°C). Grease and line two cake pans with parchment.
- Gather ingredients so you’re not doing the “one more thing” run while the batter waits.
-
Make the chocolate cake batter
- In a bowl, whisk dry ingredients together (flour, cocoa powder, baking powder, a pinch of salt).
- In another bowl, cream butter and sugar until light. Add eggs one at a time, mixing well between each.
- Alternate adding dry mixture and milk (or buttermilk) to the butter mixture. Scrape the bowl so everything blends evenly.
- Fold in a splash of vanilla. The batter should be smooth and pourable.
-
Bake the layers
- Divide batter between prepared pans and smooth the tops.
- Bake until a toothpick comes out with a few moist crumbs — usually about 25–35 minutes, depending on pan size and oven.
- Let layers cool in pans for 10 minutes, then transfer to a wire rack to cool completely.
-
Prepare the raspberry filling
- You can use fresh raspberry jam, a quick raspberry compote, or whole raspberries gently simmered with a little sugar and lemon juice until jammy.
- If you like a smoother filling, press the mixture through a sieve to remove seeds — or leave them for texture and charm.
-
Make the frosting
- I recommend a whipped chocolate buttercream that’s rich but not cloying: beat butter until fluffy, add sifted powdered sugar slowly, and fold in melted (but not hot) dark chocolate and a splash of cream.
- Taste as you go — you’re aiming for a frosting that complements rather than overwhelms the raspberries.
-
Assemble the cake
- Level the cakes if needed. Place the first cake layer on your serving plate and spread a generous layer of raspberry filling.
- Add a thin crumb coat of frosting to lock crumbs in, chill 15–20 minutes, then finish with a final layer of frosting.
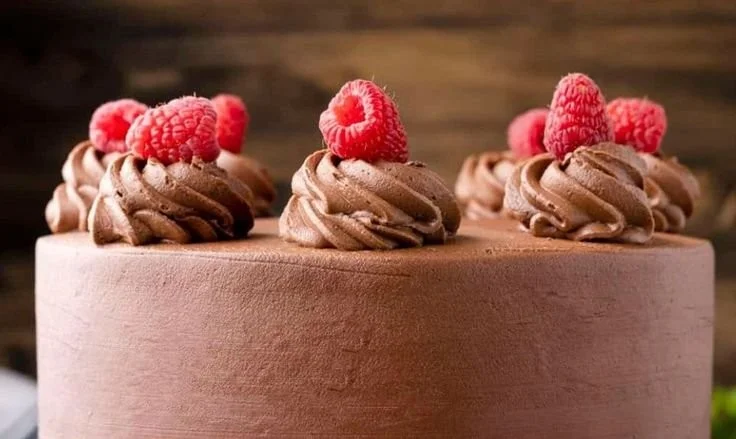
- Decorate with fresh raspberries, chocolate shavings, or a dusting of cocoa.
-
Chill, slice, and serve
- For clean slices, chill the cake for 30 minutes before cutting. Use a sharp knife warmed under hot water and wiped between slices for neat edges.
Quick timeline for busy schedules
- Make the cake layers a day ahead and wrap tightly in plastic. Frost and fill the same day you serve.
- Raspberry filling stores well in the fridge for 3–4 days; you can even freeze it for longer.
- Frosting is best used within 24 hours but can be stored in an airtight container in the fridge and re-whipped lightly before use.
Cooking tips (short and honest)
- Don’t overbake: a very slightly underdone center equals moist cake, so lean toward checking at the earlier time.
- If your frosting seems too stiff after chilling, let it come to room temperature and beat again to bring back the fluff.
- Seeds bothering you? Strain the filling. Love rustic texture? Leave them in.
- Want a faster version? Use store-bought cake layers and jam, then focus on a custom frosting to make it feel homemade.
A little kitchen confession
Patricia and I tested this one too many times (someone had to be the "official taste tester"), and the winner version was the simple one — more raspberries, less fuss. This cake used to be my show-off dessert for family birthdays. My niece declared it "the best chocolate thing" and that’s been my stamp of approval ever since.
Substitutions and swaps
- No buttermilk? Stir a tablespoon of vinegar or lemon juice into regular milk and wait 5 minutes.
- Fresh raspberries out of season? Thawed frozen raspberries work beautifully; just reduce added sugar if using jam.
- Want a lighter frosting? Try whipped cream stabilized with a bit of powdered sugar and gelatin.
FAQs
Q: Can I substitute other berries for raspberries?
A: Yes. Blackberries or a mixed berry compote work well — though flavor and seediness may vary. The idea is tart fruit to cut through the chocolate.
Q: How should I store leftovers?
A: Store covered in the fridge for up to 4 days. Bring to room temperature before serving for the best texture. You can also freeze slices wrapped tightly for up to 2 months.
Q: Can I make this gluten-free?
A: You can, by swapping a 1:1 gluten-free flour blend and checking texture — sometimes a touch more liquid helps. Be mindful of cross-contamination if needed.
Q: Will the cake be too sweet?
A: Balancing is key — dark cocoa and tart raspberries help. You can reduce sugar slightly in the frosting if you prefer.
Pairings and serving suggestions
- Serve with a simple cup of coffee or a bold black tea to complement the chocolate.
- Top slices with a dollop of lightly sweetened whipped cream or a drizzle of warmed raspberry sauce.
Want more chocolate-inspired treats?
If you adore chocolate combos, our easy chocolate peanut butter pie is a must-try; it’s fast and hits that same “rich but balanced” sweet spot.
A note on presentation (because we all love that “wow” moment)
- Fresh raspberries make a great garnish; if you want to be fancy, brush them with a little warmed jam for a glossy finish.
- A few chocolate curls or a sprinkle of coarse sea salt add sophistication and cut sweetness.
Final thoughts
This (Primary Keyword) is one of those recipes that rewards a little planning but forgives the occasional shortcut. It’s approachable for home bakers of any level and reliably gets praise — which is really the point, right? Whether you’re bringing it to a potluck, celebrating a birthday, or just treating yourself, this cake makes the day feel special without stealing your whole weekend.
Conclusion
If you want extra inspiration for chocolate-and-fruit baking, check out this chocolate cake with raspberry filling for another take on the classic pairing. For step-by-step chocolate baking techniques and a slightly different method, this chocolate raspberry cake recipe is a reliable resource.
Meta description (150 characters)
(Primary Keyword) Chocolate Raspberry Cake: quick, easy, and decadent — a perfect showstopper for busy bakers who crave a simple, impressive dessert!!
Enjoy the baking — and if you make this cake, tell me how it went. I love hearing kitchen wins (and good stories about the taste testers).