 Meriam O
Deliciously Spooky: Halloween Graveyard Pudding Cups
If there’s one thing that gets us excited about Halloween, it’s the chance to bring a little spooky fun into our kitchens! And what better way to do that than with these delightful Halloween Graveyard Pudding Cups? Not only are they a treat for the taste buds, but they also make for a perfectly whimsical centerpiece at any Halloween gathering. Trust me, friends will be flocking to your table faster than you can say “Boo!”
Why You’ll Love These Halloween Graveyard Pudding Cups
You might be wondering, “Anna, why should I whip up these pudding cups amidst the chaos of family activities and Halloween preparations?” Well, for starters, they’re quick and easy to make—perfect for the busy mom or the multitasking professional who still wants to serve something special to friends and family. Plus, they’re adorable and allow for a bit of creativity that’s sure to impress kids and adults alike. Who can resist that?
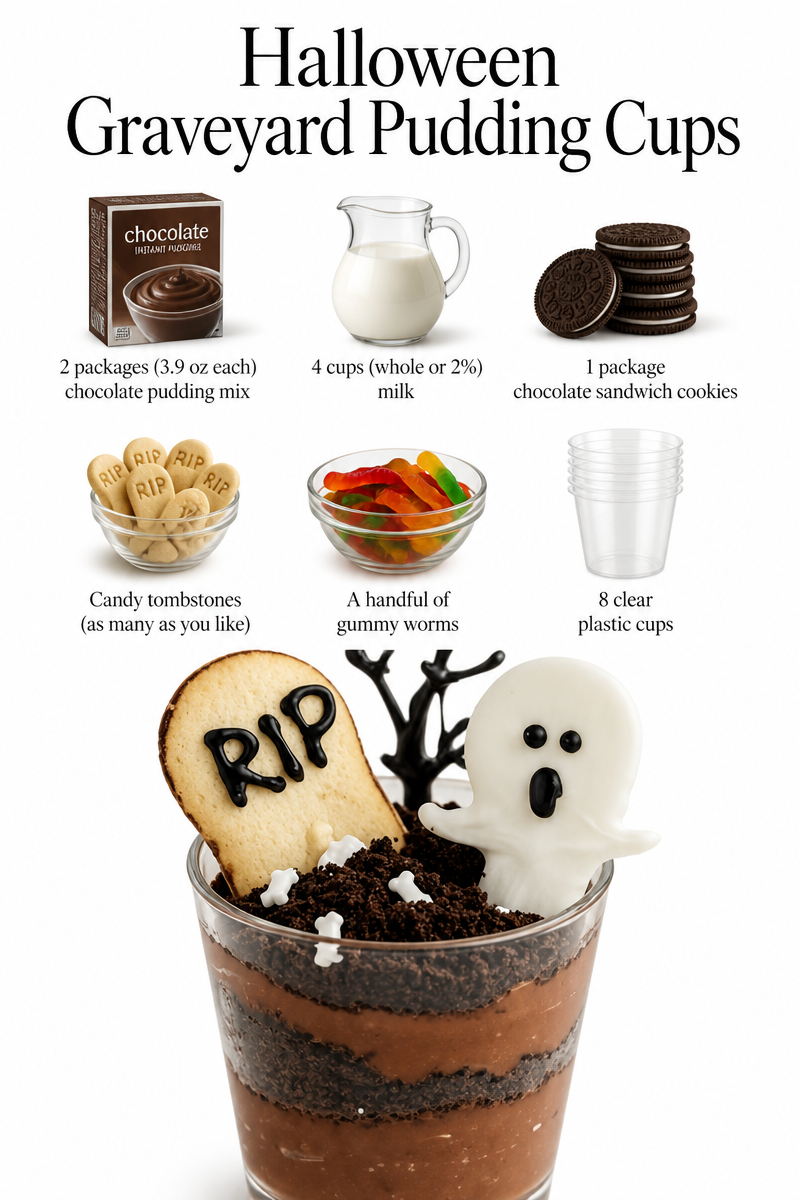
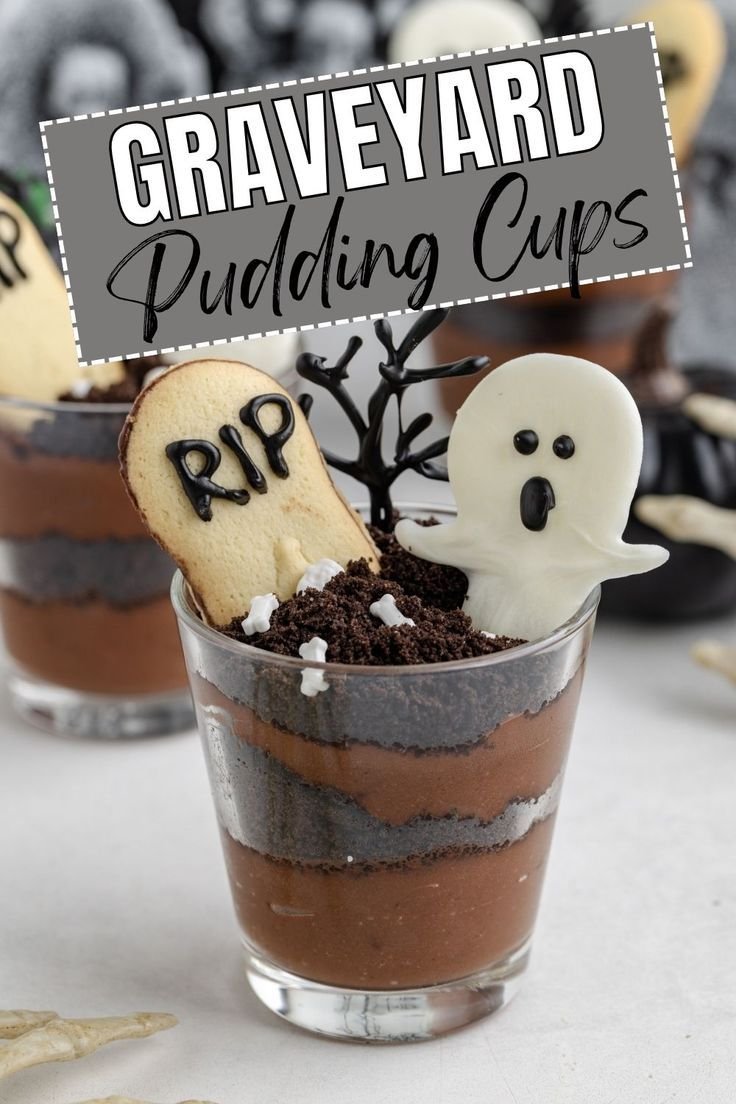
Ingredients You’ll Need
Before you grab those skeleton-shaped spoons, let’s gather what you need for this spooktacular recipe:
- Chocolate pudding mix (2 packages)
- Milk (4 cups)
- Oreo cookies (1 package, crushed)
- Gummy worms (a handful)
- Candy bats or pumpkin decorations (for that haunted touch)
- Plastic cups (get ready to turn these into grave markers!)
Let’s Get Cooking!
Now, let’s roll up our sleeves and bring these Halloween Graveyard Pudding Cups to life!
-
Prepare the Pudding: In a mixing bowl, whisk together the chocolate pudding mix and milk for about 2 minutes or until it thickens perfectly—like a potion bubbling away in a cauldron.
-
Crush Those Oreos: While the pudding is setting, take a bag of Oreo cookies and crush them into fine crumbs. This will act as our “dirt.” (Trust me, your kids will love this part. There’s something oddly satisfying about smashing cookies!)
-
Layer It Up: In your plastic cups, add a layer of chocolate pudding, followed by a layer of crushed Oreos. Repeat this process until the cups are filled, leaving a bit of room at the top for those delicious decorations.
-
Decorate: Once your cups are all layered, it’s time to bring out the creativity! Toss in a few gummy worms peeking out of the top and sprinkle some candy bats or other Halloween decorations to give your graveyard a haunted finish.
-
Chill and Serve: Pop the finished pudding cups in the refrigerator for at least 30 minutes to let them chill and set. Just enough time for you to catch up on your favorite Halloween movie—because, let’s face it, no spooky snack is complete without a little entertainment!
Cooking Tips for the Perfect Graveyard Pudding Cups
- Add a Personal Touch: You can switch up the flavors by using vanilla pudding instead of chocolate. Additionally, swap out the Oreos for your favorite cookie crumbs—no one will judge if you use peanut butter cookies instead!
- Get Creative: Have your kids help with the decorations. Set out all sorts of fun candies and sprinkles and let them make their mini graveyards. It’s a great way to spend quality time and let their imaginations run wild!
Personal Anecdote
I’ll be the first to admit that these pudding cups became a yearly tradition in our family after my kids brought home a similar recipe from a school event. Initially, I thought they’d be just another seasonal gimmick, but boy, were they wrong! Now, every October, our kitchen transforms into a mini Halloween factory, and every time I make these, I can’t help but smile as I remember those giggly kitchen moments filled with cookie crumbs and laughter.
FAQs: Your Spooky Questions Answered!
Can I substitute chocolate pudding for another flavor?
Absolutely! While chocolate is a classic, vanilla or even butterscotch can bring a delightful twist to your graveyard pudding cups.
How can I store leftovers?
If you have any cups left (which is unlikely, but just in case!), cover them and store them in the fridge. They’re best enjoyed within a day or two.
Can I make these ahead of time?
You bet! These cups can be prepared a day in advance. Just make sure to add the decorations right before serving for maximum “wow” effect.
As I wrap up this spooky culinary adventure, remember that Halloween Graveyard Pudding Cups are not just about creating a delicious treat, but also about fostering connections, joy, and a sprinkle of magic in your home. Whether it’s a neighborhood gathering or a cozy family movie night, these cups will ensure that your celebration is deliciously memorable.
So grab your apron and let’s embrace the spirit of Halloween in the kitchen! Happy haunting, and may your Pudding Cups be the talk of the graveyard!
Meta Description: Halloween Graveyard Pudding Cups are the perfect recipe for spooky fun! Quick, easy, and delicious, they’ll delight everyone at your Halloween party.
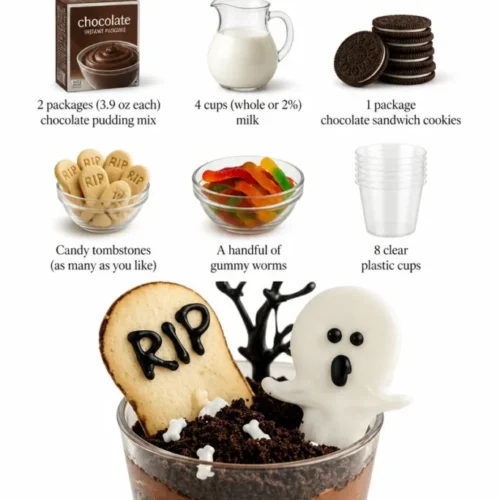
Halloween Graveyard Pudding Cups
Ingredients
Pudding Ingredients
- 2 packages Chocolate pudding mix
- 4 cups Milk
Topping and Decoration
- 1 package Oreo cookies, crushed For the 'dirt' layer
- 1 handful Gummy worms For decoration
- to taste Candy bats or pumpkin decorations For decoration
Containers
- count Plastic cups To serve the pudding
Instructions
Preparation
- In a mixing bowl, whisk together the chocolate pudding mix and milk for about 2 minutes or until it thickens.
- Crush the Oreo cookies into fine crumbs to act as 'dirt.'
Layering
- In your plastic cups, add a layer of chocolate pudding, followed by a layer of crushed Oreos. Repeat until the cups are filled.
- Leave some space at the top for decorations.
Decoration
- Add gummy worms peeking out and sprinkle candy bats or decorations on top.
Chill and Serve
- Refrigerate the pudding cups for at least 30 minutes before serving.